
eCommerce Platforms
Get started with Shopify
The following document has been developed for Shopify and Shopify Plus eCommerce stores. The guide will cover the installation of the bolttech eCommerce app as well as an end-to-end testing guide.
NOTE: Before you can start actively using the Shopify App and bolttech eCommerce services, you will require an active bolttech Merchant Account. Click here to register for a Merchant Account.
1. Installing the bolttech Extended Warranty app
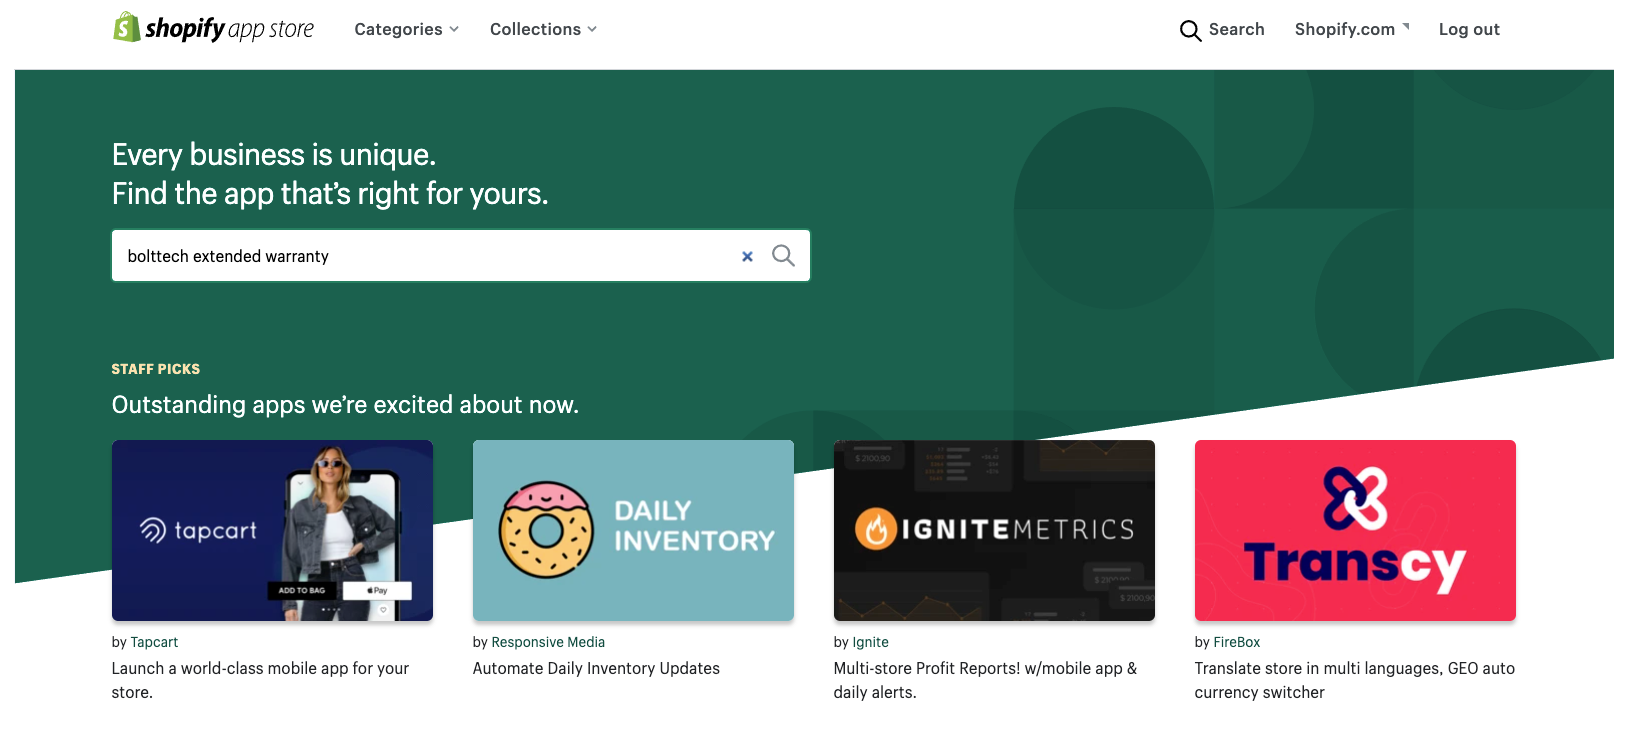
- Login to your Shopify store, click Apps link in the sidebar
- Click the Shop for apps button
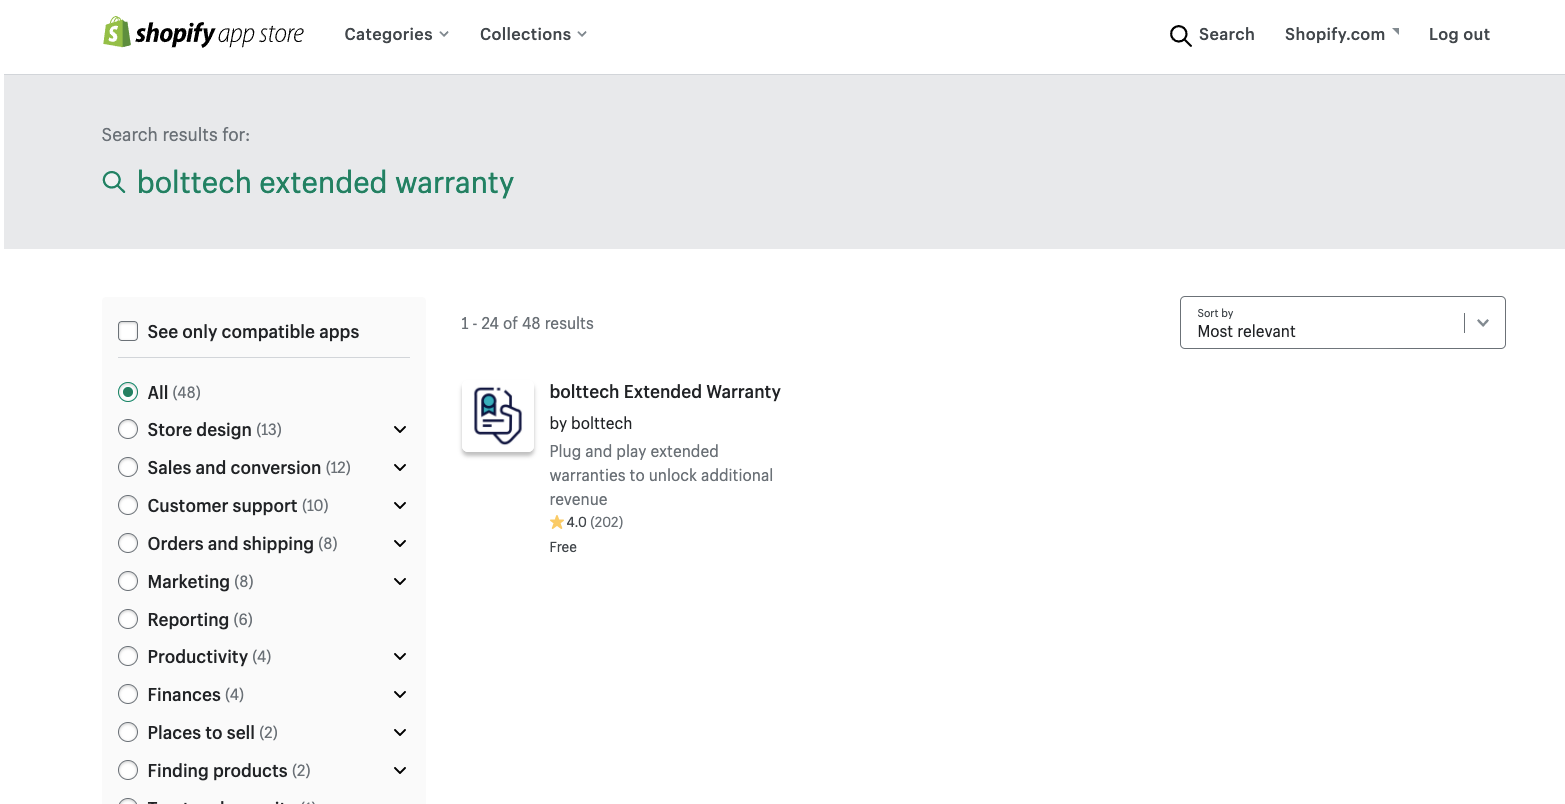
- Enter “bolttech Extended Warranty” in the search bar and click the search icon
- Once results are displayed, click on the “bolttech Extended Warranty” App
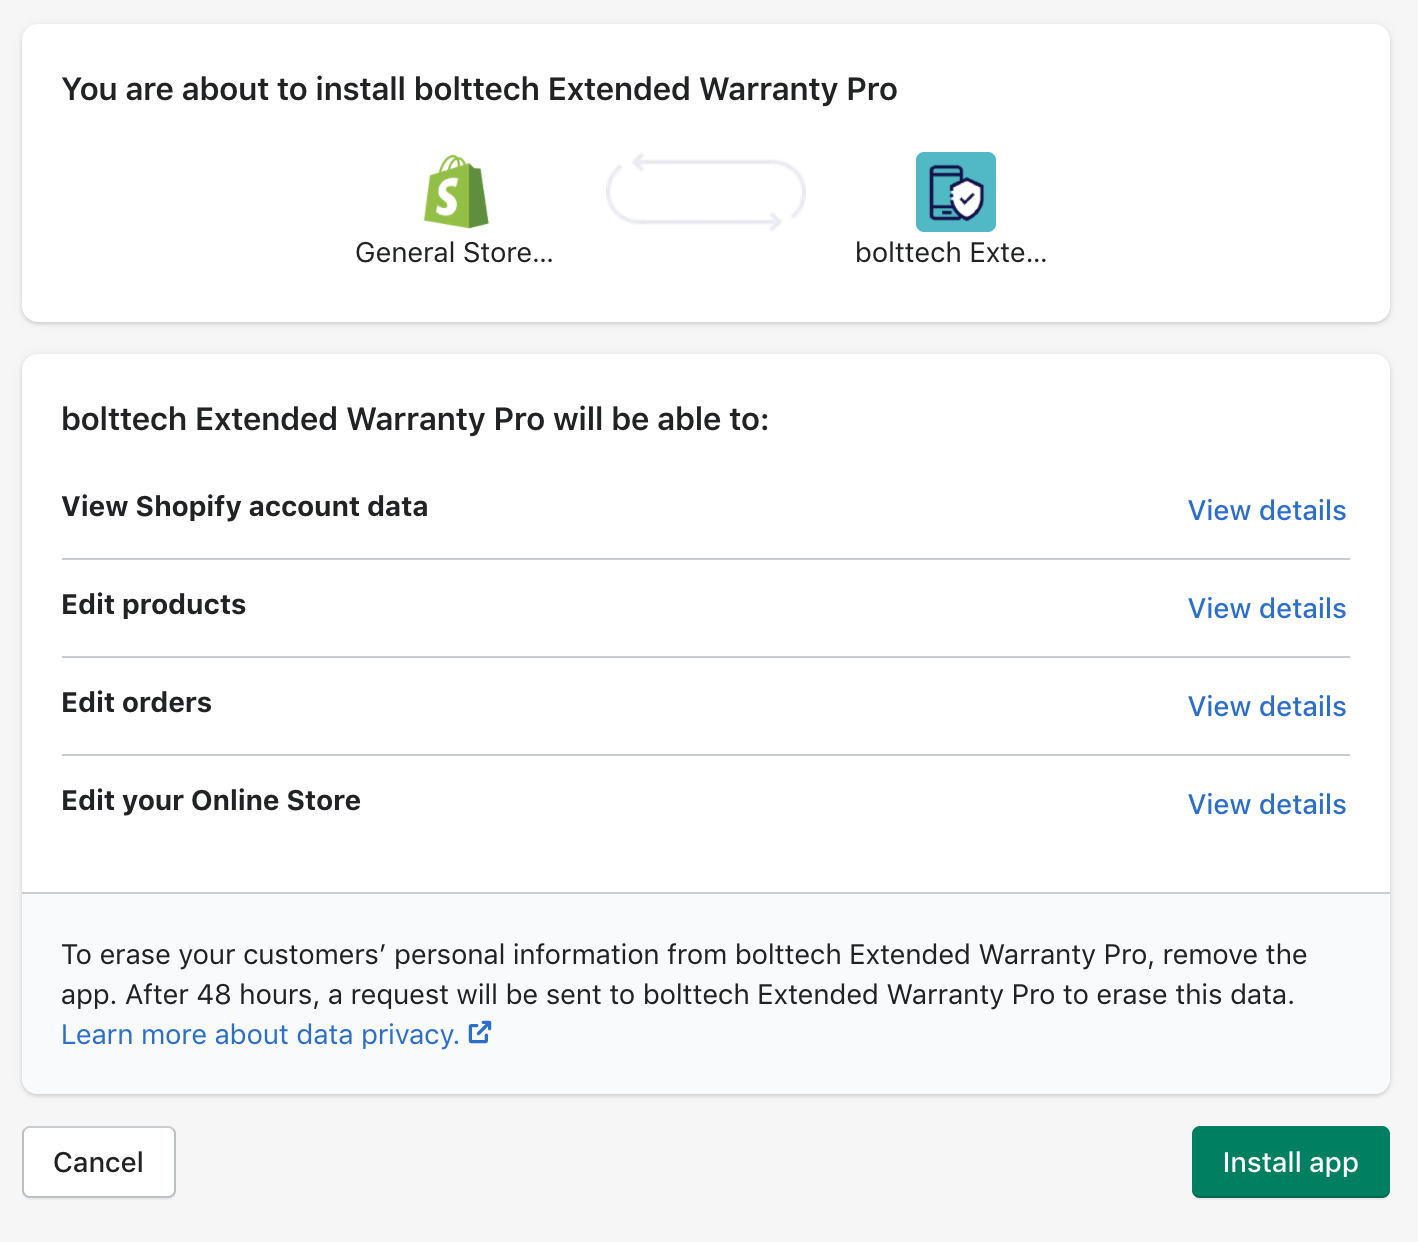
- When prompted, click “Install app” to approve access to the relevant APIs within your Shopify store.
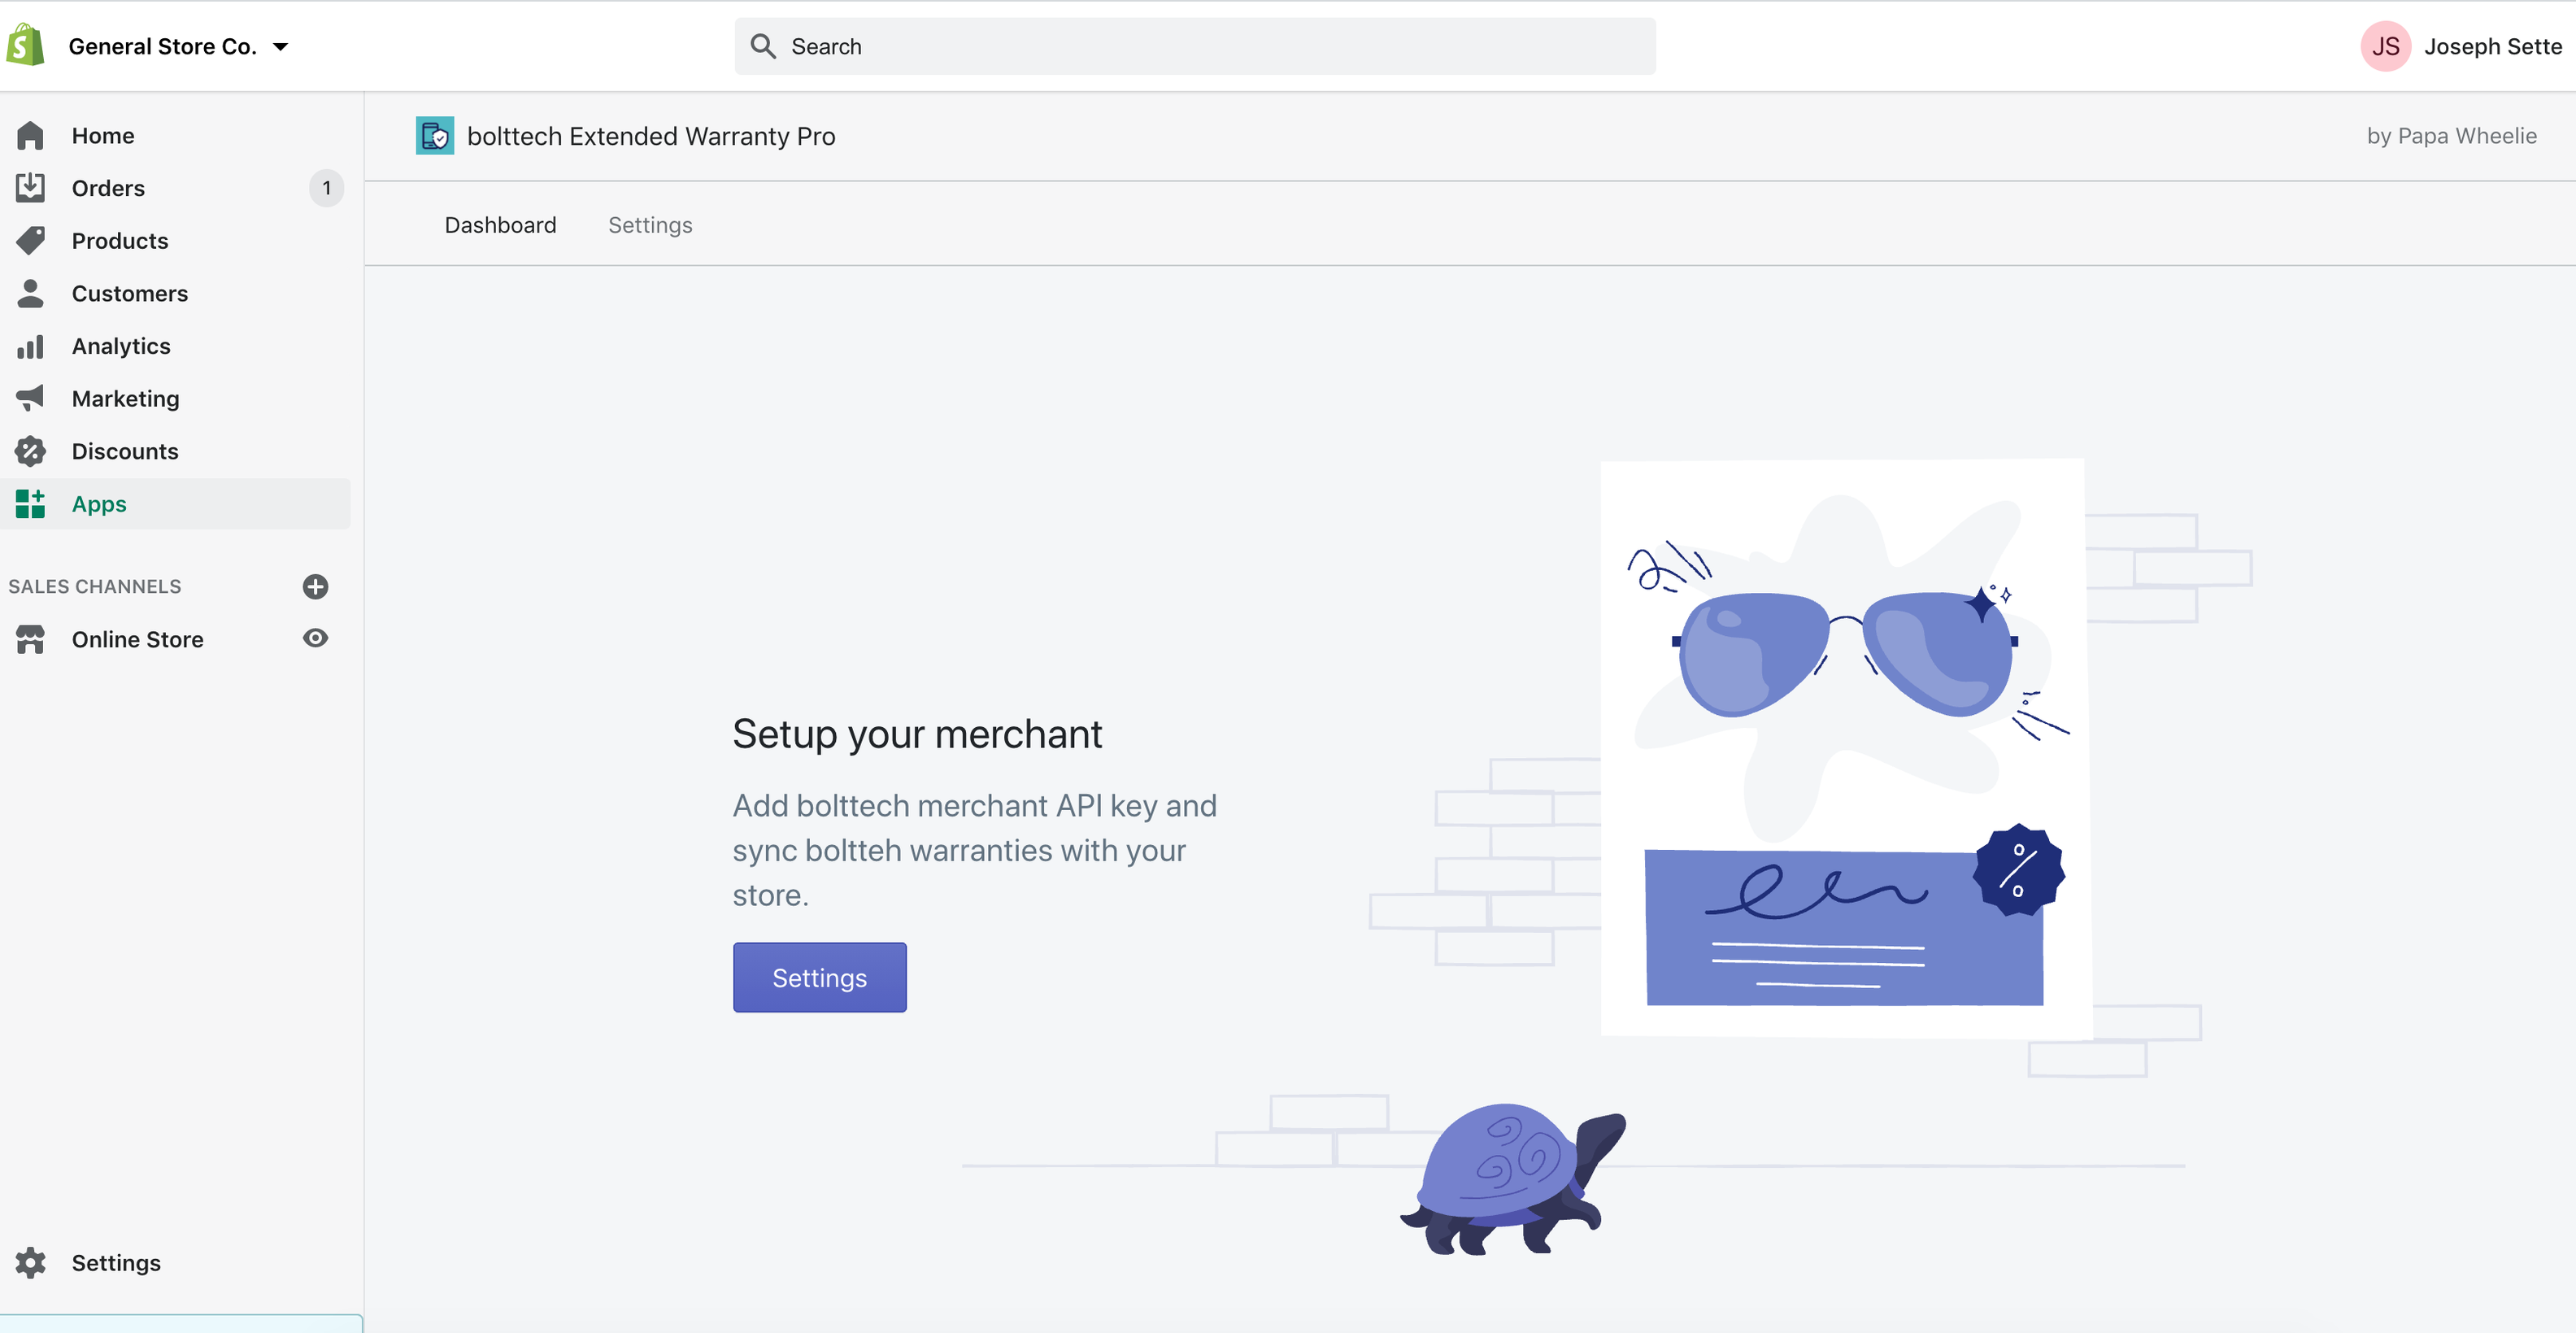
The app is now successfully installed and ready for configuration!
2. Configuring the extension
Before you can start this step, you will need the following from the Merchant Portal:
- Merchant ID
- API Keys
If you do not know how to obtain these details, please see our article on How to get Merchant ID and API Keys
- Open up the Shopify up setting pane, by clicking Apps > bolttech Extended Warranty. You should see the following screen.
- Click Settings button or tab on the top
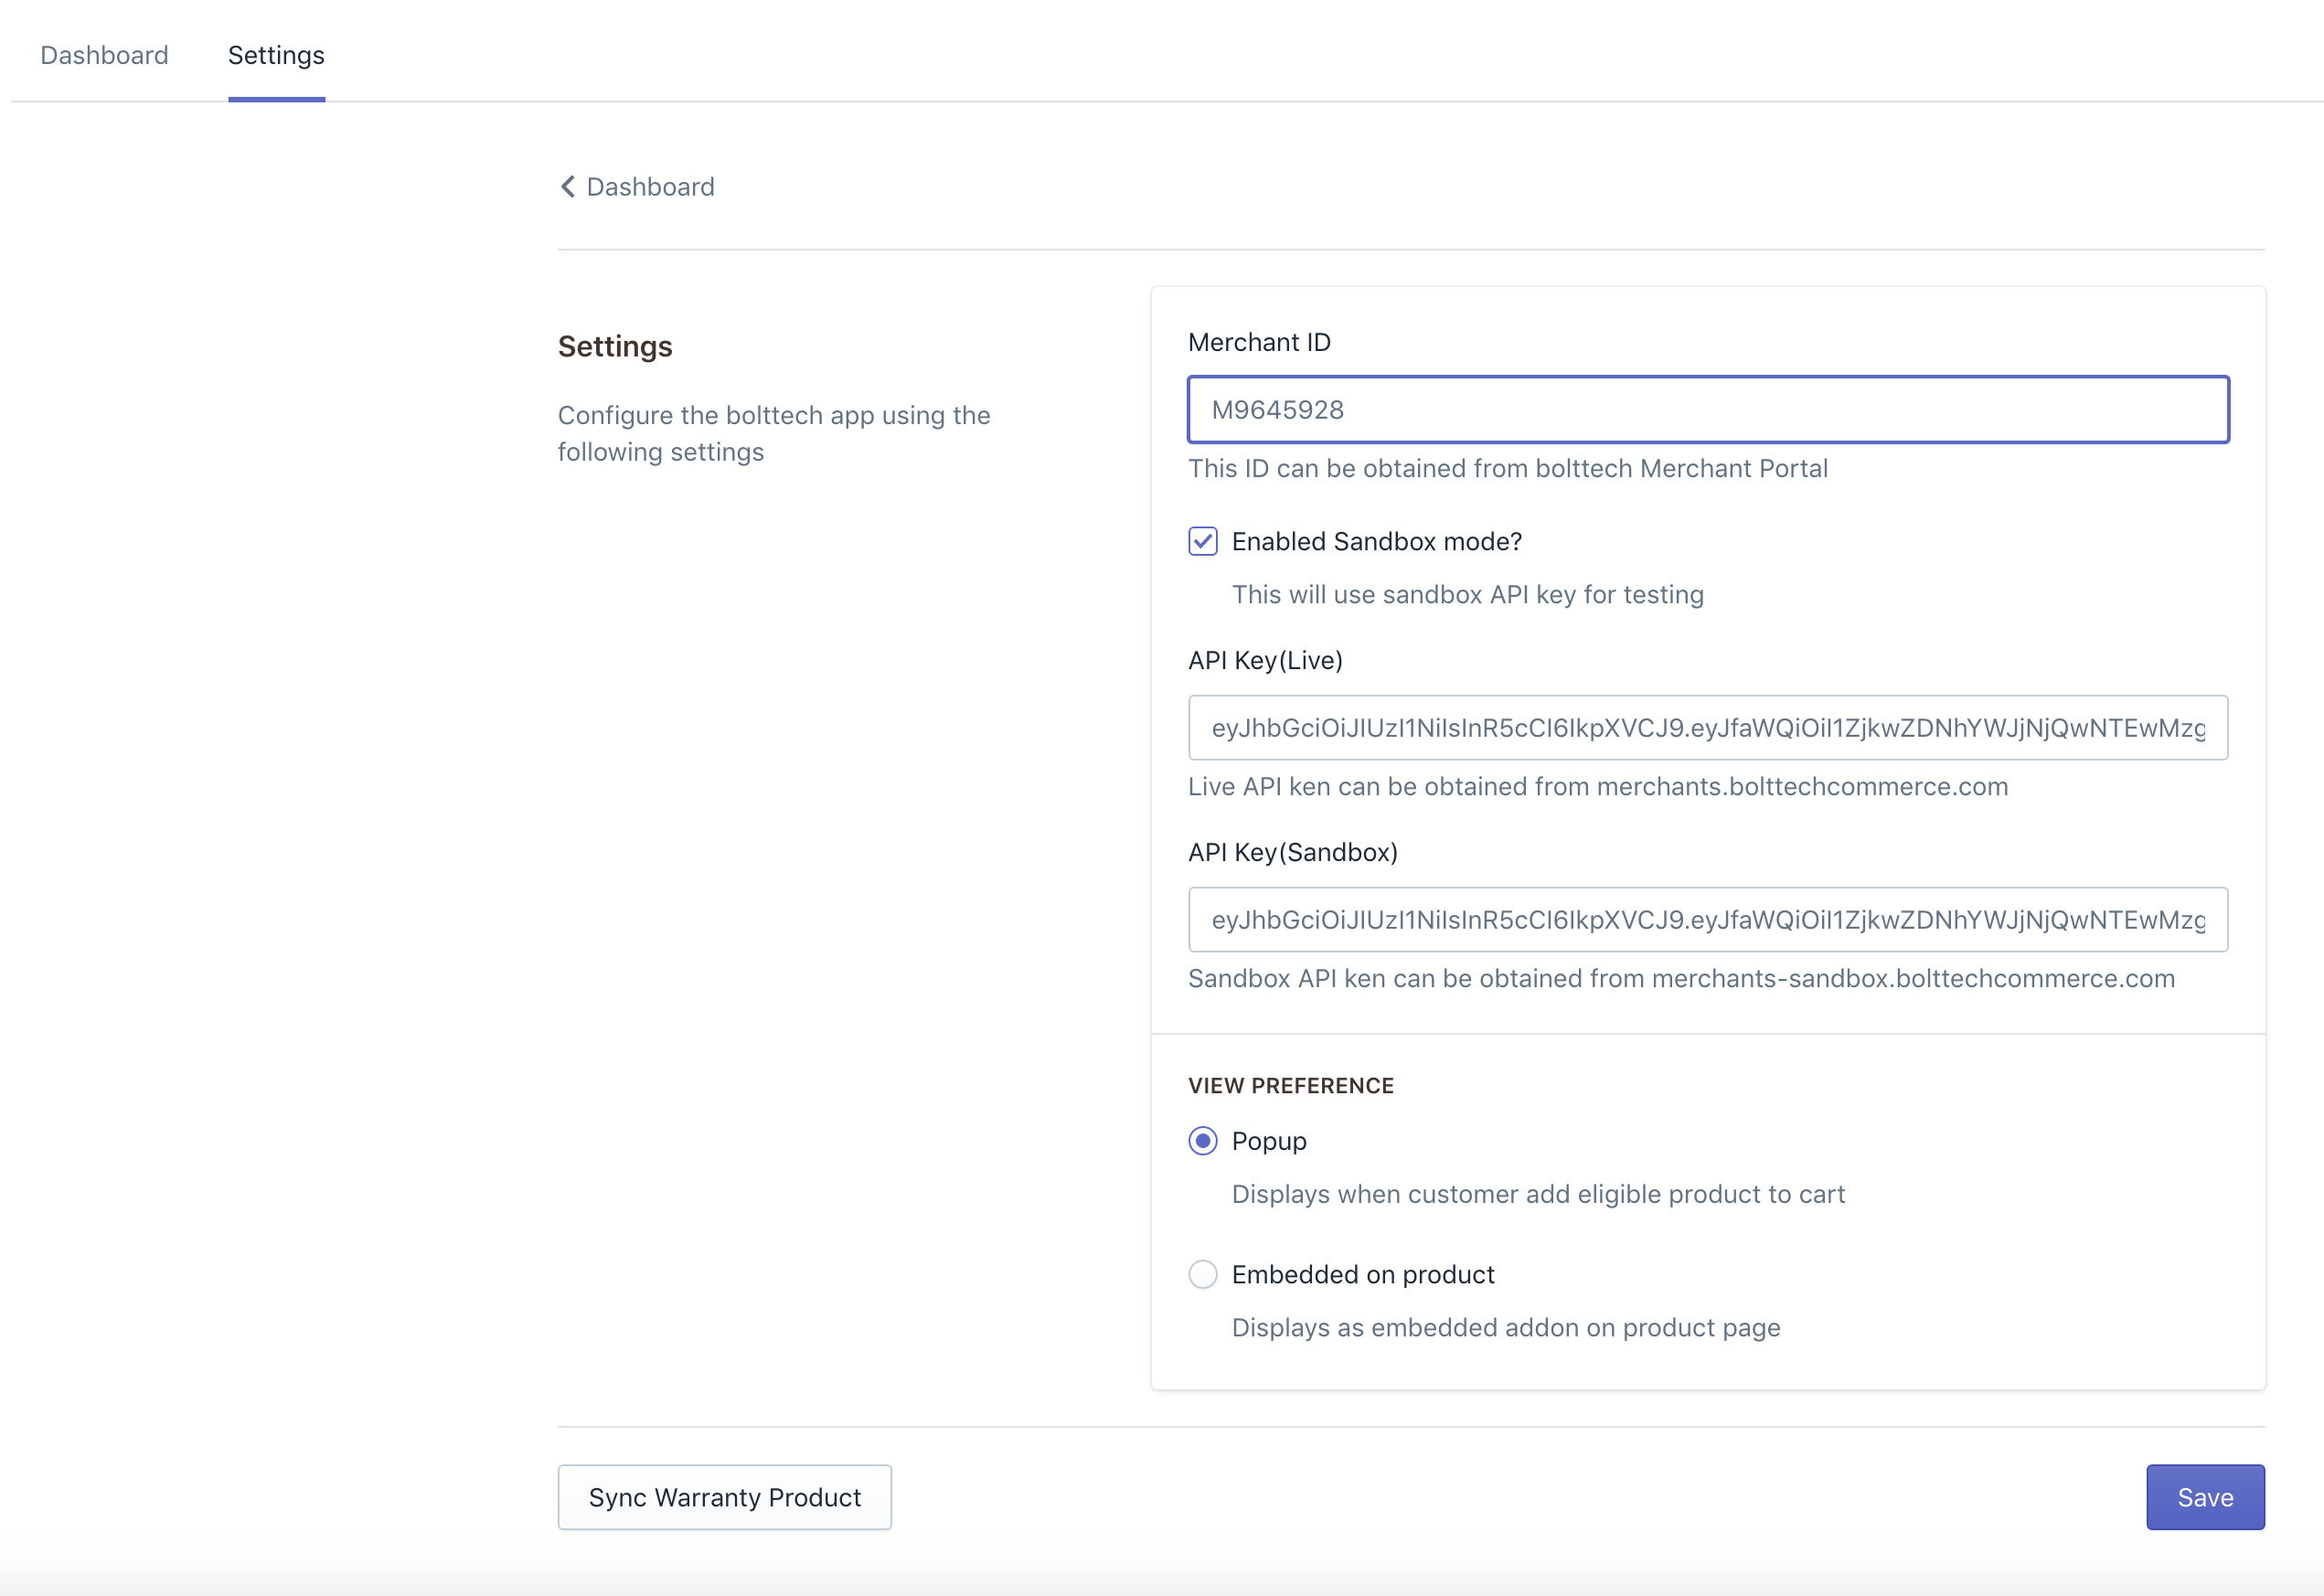
- Enter your Merchant ID
- Enter the sandbox API Key in both API key fields (NOTE: when going live, you will need the Live API key to be populated from the live merchant portal)
- Ensure “Enable Sandbox mode?” is checked if you want to run test transactions. Uncheck for live transactions
- Click Save
- You should receive a success message “Your settings successfully updated!”

3. Sync the available warranties to your catalogue
You now need to ensure your catalogue has the relevant extended warranties offered by bolttech. To do this follow these steps:
- Within the Settings tab, click “Sync Warranty Products” button.
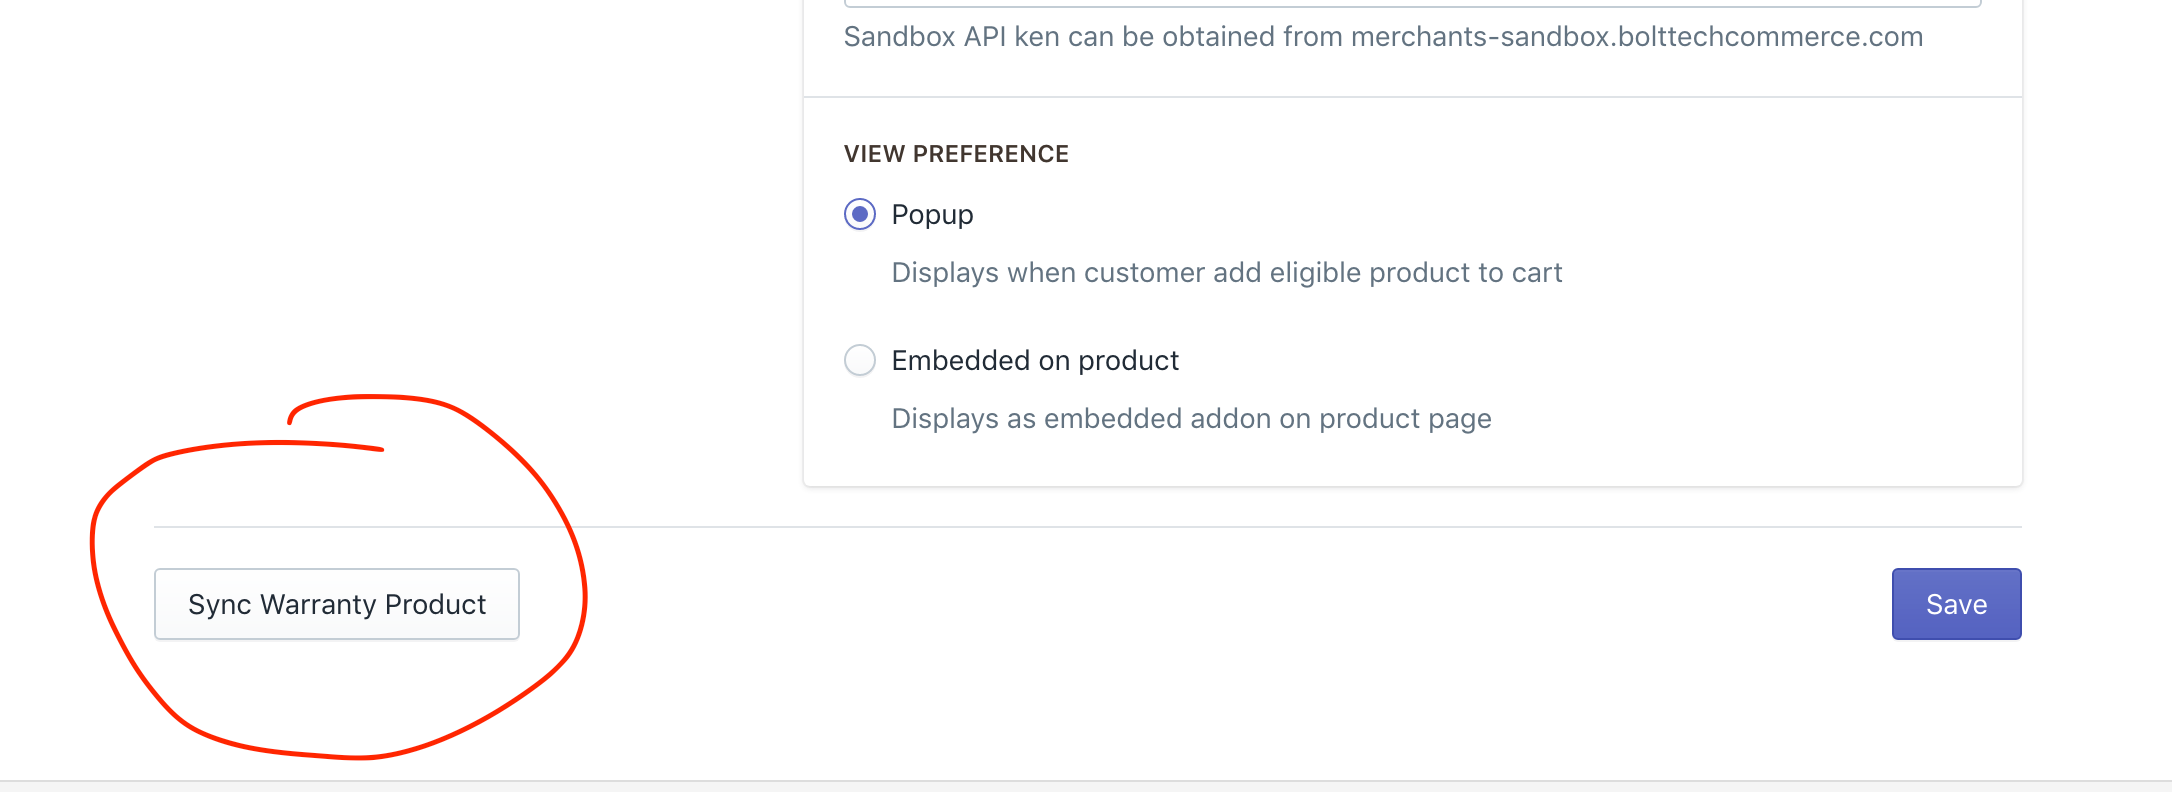
- You should receive the following success message “Warranty products successfully updated!”.
NOTE: if you receive an error message here, then there is an issue with the API configuration in the previous step. Please contact us if that is the case. - The warranty products should now be in your catalogue. Test this by navigating to Products and typing “Extended Warranty” within the search field. You should see the bolttech warranty products here. There is no need to change any information within these products.
Next step will be to setup your catalogue and eligible products within the merchant portal. Click here for instructions
---
Troubleshooting FAQs
We are not receiving order confirmation emails from bolttech?
If this happens, please contact bolttech. It most likely is a issue with an existing app causing a conflict. In these instances, bolttech is not aware of the Extended Warranty ordered by the customer.
Some customers have experienced this issue with the following plugin:
The popup or embedded form won’t display, even though I have an eligible product?
If you are experience this, please check the product is available in the Merchant portal. Also check the SKU within your eCommerce store catalogue is unique, and the same as a SKU uploaded to the Merchant portal. Finally, re-check eligibility on the Merchant Portal.
Can I have multiple products with the same catalogue SKU?
No. SKU’s must be unique.
I need to change my catalogue SKU? Will the product still display the extended warranty user interface?
No. However, if you need to update a SKU, simply apply the updates within your eCommerce store and re-upload (with updated SKUs) to the Merchant Portal.